Tuesday 13 December 2011

Season's Greetings...

...and thank you for being interested in the restoration of Sentinel 7109 "Joyce". I'll do my best to keep up the 'blog's standard in 2012!
At 83, young Joyce playing in the snow on Boxing Day 2010
(I must make some Xmas cards with this photo for next year)
When I began the 'blog in May this year, I wasn't sure how it would develop and how it might affect progress with the restoration activities. In actual fact, the restoration has fed the 'blog and the 'blog has fed the restoration giving each activity a feeling that it is complete when lodged in the blogosphere.

I've also found that visitors to Midsomer Norton Station are starting to ask me more informed and searching questions lately (who's leaking the information, I wonder?). I even get a few 'blog comments, some sensible, some humorous. I'll leave you to figure out which fall into which category!

There is probably not much more to blog in 2011 but you never know. The weather has decided to cool it emphatically and contact with cold metal drains body heat in no time through gloves, footwear and clothing; not a pleasant experience.

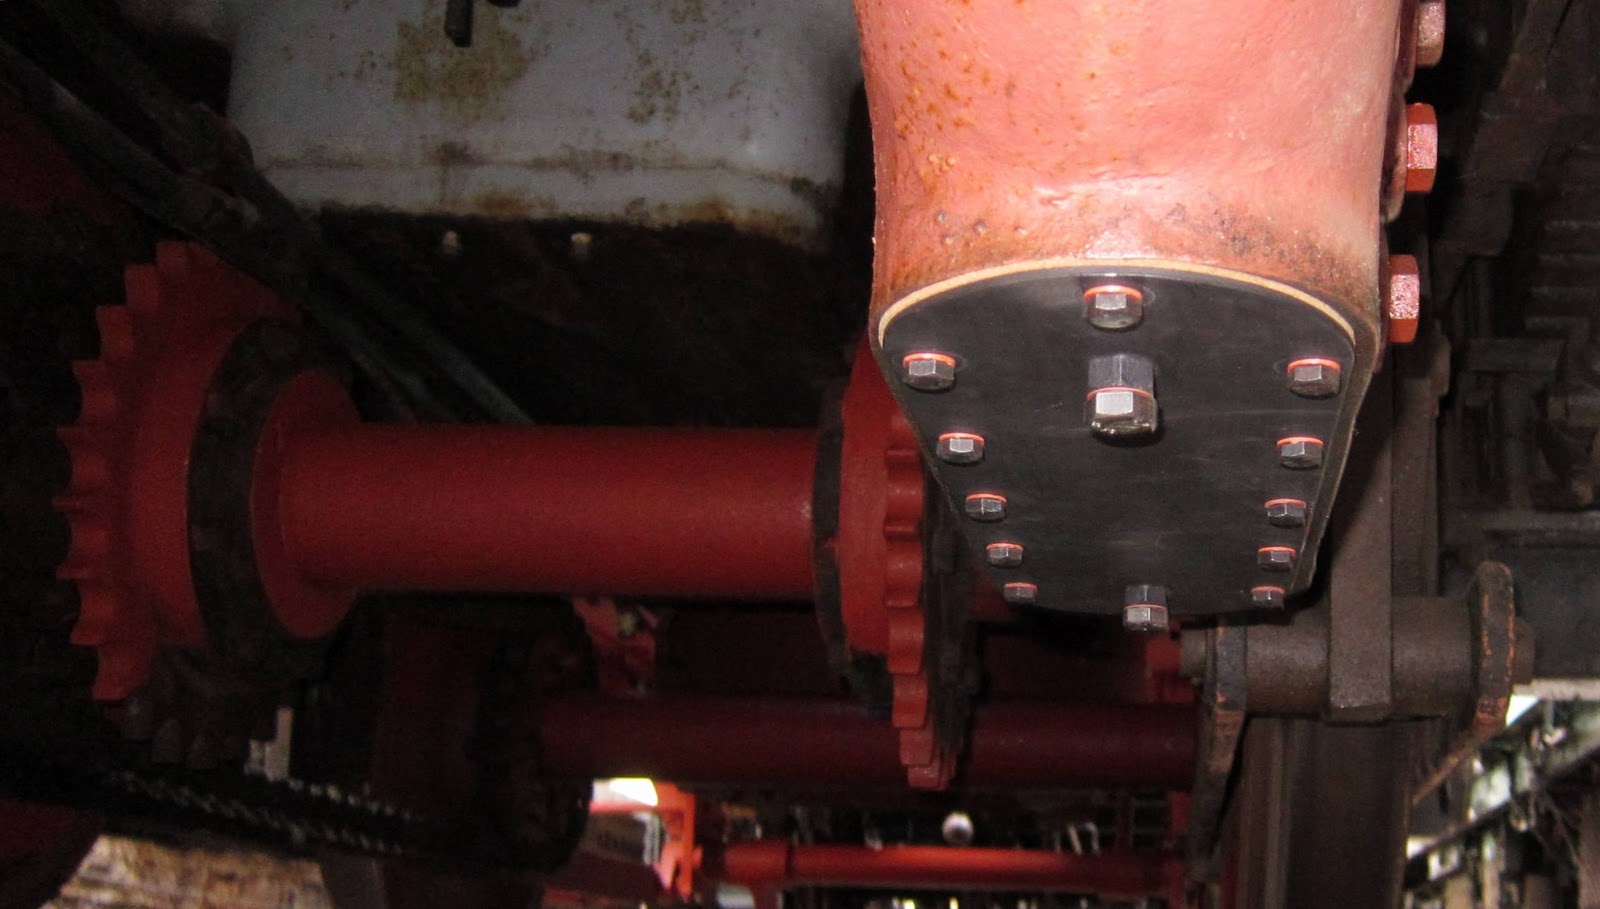
The arrival of the DMU at Midsomer Norton has left Joyce isolated in the platform opposite the maintenance facilities of the goods' shed. Much anticipated activity has had to take a back seat and, after three weeks, I'm still waiting to turn the engines on compressed air to splash the gloppy crankcase oil about in the lower gear cases. Hopefully, when Santa has been and gone, normality will return and more progress can be made.

2012 should see Sentinel 7109 in steam again for the first time since the 1960s. There's still a long way to go but most of the major subsystems' restoration has been sorted and, when circumstances allow, it will be more a matter of bolting all the bits together and lighting the fire than the endless grinding away at rust and debris ("How naive", did I hear someone say!).

Have a good break and hope to see some of you as visitors to Midsomer Norton Station in the new year.

PS If you find yourself bored over the break whilst waiting for the next posting, why not have a look at Douglas Self's 'Unusual Locomotives' web page. It's rather short on UK Sentinels at the moment, however, hopefully that won't always be the case!

Friday 2 December 2011

Diesel Dunking for the Chains

Here's Sentinel 7109's offering for submerging a celebrity in slime!
Is it a snake?
Eel maybe?
In actual fact, this is the recommended method for reconditioning rusty chains. As of 27th November 2011, two of the huge chains described in an earlier posting are now lying in a nice moisturising bath of diesel and thin oil.

After much searching for a suitable container large enough and strong enough to take a pair of chains, a S&DRHT volunteer, Dave Read, came up with the ideal thing, an agricultural style tank which may have done service in a dairy originally! It's always a good idea to explore other technologies for solutions to your own!

The chains will remain submerged for a couple of months before further examination.

One method of cleaning the chains I was recommended was to set fire to them to dry off the diesel. How ever good an idea it may be, the H&S police would probably have a heart attack at the thought!

Tuesday 29 November 2011

Between the Lines

Welcome to all who've found my Sentinel 7109 'blog from the link address on the back of the superb new S&DRHT newsletter 'Between the Lines'.

Well done, in particular as there is an extraneous '1' before the 7109 where it shouldn't be in the 'blog address! Oops Mr Proof-Reader!

Inter-Telegraphy: Lines, wires, poles (even Road possibly!)
I've accumulated quite a lot of information since May 2011 with the aim of recording the restoration work partly for my own reference and partly for anyone else interested in Sentinels or for anyone who's interested. I'm an engineer so no apologies for the postings being about Sentinel loco engineering and construction. No apologies also for drifting off-subject from time to time!

To find your way around, click on 'A Warm Welcome' to get started. Any text in blue is a link to either 'blog content or something else. Who knows what you might find?

Thursday 24 November 2011

Brazed Nuts and Gear Cases

After many years of staring wonderously up into the portals under Sentinel 7109's lower gear cases, 23rd November 2011 finally saw them closed up and an oil bath created inside.
Under-frame view showing the nice pair of closed-up lower gear case portals
There are a number of requirements to be satisfied with these cover plates: they must not leak around the gasket; they must not leak around the screw threads (the holes are open inside to the oil bath); they must allow condensate to be drained off from below the oil (all of it if possible).

The gaskets are hand made from a rubberised cork material about 1/8th inch thick (3mm) using the two plates themselves as the respective templates.

Plate and cork gasket (two of each)
Preventing leakage down the screw thread is not so easy. At first, studs were tried but they were loose in the thread. These could have been secured with Loctite of an appropriate grade; however, I was concerned that the seal might not be maintained for the many years it will be required. Also, if either plate needed to be removed, undoing the nuts on the studs could loosen a stud and require it to be refitted and resealed. So I chose to use 5/16" BSW hex headed bolts with fibre washers.

[Note to me: 6 of the 24 bolts have been cut to 1/2" length for the holes which have been closed off with weld where presumably there was a problem with the gear case casting. The rest of the bolts are 1" but could be cut to 1/2" in future if wanted - unnecessary extra work!].

I'd also been recommended to use 'Dowty' washers instead of fibre; however, I had to dismiss this idea as some of the holes in the plates were not round and would allow leakage at the long end of the holes! (Offers for 25 M8 Dowty washers anyone?).

I devised a cheap method for draining the condensate using M12 nuts brazed to the underside of the plates and drilled and tapped so that a bolt could protrude right through. I milled a slot along the length of the bolts so that they could seal when tightened up but let fluid pass when loosened.

Slotted bolt and brazed nut
The key point here is that fluid needs to drain down to the surface of the plate and not allow a pool of condensate to remain that cannot be drained. One suggestion had been to use a drain cock; however, it would still need a brazed nut or threaded boss to mount it and £15 or so each is a lot more than the cost of stainless steel M12 bolts!

Use Crankcase Oil
Sentinel require Crankcase oil to be used to lubricate the gears as there can be seepage of crankcase oil through the crankshaft end bearings from the crankcase to the gear case. After some careful investigation, I selected Hallett Oils' SCC680 Crankcase oil which is designed specifically for Sentinel steam engines. It is a viscous, gloppy (onomatopoeic word) fluid that encourages any condensate to separate out and sink to the bottom (water being heavier than oil). It's this property that enables the condensate to be drained.

The gear cases needed to be filled to the second check level to suit the diameter of the gear wheel inside.

The one in the middle
At this point I realised that the gear cases were somewhat larger than I'd anticipated as they swallowed at least two gallons per side! So the plentiful stock of crankcase oil purchased for the engines is not now as plentiful as it needs to be!
Right hand Cover Plate
Left hand Cover Plate
So let's hope that I've thought of everything to prevent any leaks as draining out two gallons of gloppy oil to start again is not an appealing prospect!

Monday 21 November 2011

The Midsomer Norton Station Bicycle - Big Time!

Midsomer Norton Station visitors have been developing a curioius interest in evidence for the existence of a giant bicycle. I have to admit there certainly is some evidence. Have a look at these photos taken 20th November 2011:
Bicycle Chains?
Nothing in the above to show the size of the chains.
But hang on, 2 7/8 inches wide...
... and a pitch of 2 1/2 inches?
This must be some bike!

OK, not a serious article. These are of course Sentinel 7109's drive chains before cleaning up and freeing. Only 3 are needed but they are just a little larger than for your average bicycle, don't you think?

Sunday 20 November 2011

Sentinel 8805 Update (1)

I spotted a familiar model of Sentinel 8805 at the Midlands' Model Engineering exhibition at Warwick on 15th October 2011.
Sentinel 8805 with its condenser vent at the front
The beading around the cab window looks identical to that on 7109
(from which the dimensions were taken!)
Norman Smedley has clearly been busy lately on his model of 7192 which I featured earlier in 2011. Click here to view. Keep up the good work Norman; I look forward to seeing it run!

Saturday 19 November 2011

Chuffing Nozzles - Now there's a thing or four!

To turbo-charge Sentinel 7109's fire, exhaust steam is blasted up the chimneys to pull a draft of air through the coals in the firegrate. When stationary, steam is also directed up the chimneys using the blower for the same purpose. So how is this done?

Exhaust steam from the cylinders is pushed through a narrow aperture via a set of four nozzles, two in the base of each of the two chimneys.

The Four Nozzles
The nozzles sit in the base of each chimney
where the end of each of the curved exhaust pipes enters
When the nozzles were originally extracted, they were not in an operable state. There was a good amount of hardened coal-tar in the nozzle pathway and the blower rings were clogged-up so badly that only one or perhaps two holes could actually do any blowing.
Two nozzles as found after dismantling
Sentinel 7109 has its blower fed from the main superheated steam supply which contains cylinder oil. As a result, the blower has cylinder oil blown through its tiny holes; I can understand why the pathway and holes get blocked. I wonder if later Sentinels used wet steam for the blower?
The clogged blower passageway
Let's see how a nozzle is constructed:
The exhaust steam connects to the main nozzle inlet (the big hole in the flange in the picture below).
Main Nozzle casting
It then has to go through the narrower nozzle exit aperture and up the chimney.
Nozzle Exit Aperture
The exit aperture holds down a blower ring with four holes in it over a pathway to allow blower steam to be blown through the four holes.
Blower ring
Blower steam pathway with inlet showing
A separate steam supply connects to a narrower blower inlet pipe to the pathway.
Blower Inlet Pipe
It looks like this when all is assembled.
A complete nozzle assembly
And there are four of them in a double-engined loco.
The Four Nozzles again

Friday 18 November 2011

Superheater - Baffling!

On my visit to J R Goold Vintage Steam Restorations Ltd on 11th November 2011, Grant Goold showed me the pattern he had made for the superheater's supporting baffle plate from the drawings below.

The baffle plate is at the bottom of the central vertical shaft
The baffle plate itself
The bright orange saucer is not a Frisby (so I'm told) but the pattern to cast the baffle itself.
Upper face showing the strengthening webs
Lower face showing the cut-outs for the superheater support brackets
A quote for the final article to be cast in stainless or 'SG' steel is awaited.

Thursday 17 November 2011

Steam Brake Cylinder Completed

On 11th November 2011, I visited our multi-talented subcontractor J R Goold Vintage Steam Restorations Ltd in Camerton to catch up on progress. Grant Goold showed me the end result of his father's superb work on the steam brake cylinder with its brand new piston. Click here to see how it started out.

When the brake cylinder was originally removed from Sentinel 7109, it was not in a good state and needed to be re-bored to a larger diameter. This meant that the piston would no longer be big enough even with new piston rings to work satisfactorily. Thus the old piston was wrapped in tape to make it slightly larger so that it could be used as a pattern for casting a new one. Work was also needed to de-clog a condensate drain valve which had clearly not been operable for some time! 

"As New" Cylinder and Piston
There is still a retaining ring to be bolted to the face using the six bolt holes. This is a useful feature to prevent the piston ejecting every time the brake is applied!
Close-up of the re-bored cylinder
This picture shows where the cylinder is mounted on the near-side frame below the footplate.
The Brake Cylinder is top left
The shaft across the lower part of the picture is rotated by the steam brake pushing on the crank shown below it.

Steam brake crank with cylinder removed
There is a similar mechanism used for the handbrake.
Handbrake crank pulled upwards to apply the brake 
The shaft then has other cranks which pull on the brake gear to apply the brakes.
Brake operating crank
Rear wheel brake shoe and link to the front wheel brake
(Fairly heavy duty mechanism!)
I'm feeling more confident now that not only will we be able to make Sentinel 7109 go but we will also be able to make her stop!

Friday 14 October 2011

Sentinel Loco Boiler Replacement - Big Time!

Friday 14th October 2011 was a beautiful, sunny, autumn day, ideal for picking up, transporting and reinstalling Sentinel 7109's big 200hp loco boiler.

Starting out at Mendip Steam Restorations Ltd, Paul (star of the day) of R J King first puts the boiler on the lorry. (Also on YouTube).

About here:
On the back of a lorry (from where it must not fall off)
Then out on the road:
Stoke St Michael's motorway
Through Stretton on the Fosse:
No boilers coming the other way
Then, crossing the road to Chilcompton, signs of the visible bit:
Summit to think about!
Finally arriving at Midsomer Norton Station for repatriation:
Not seen each other for a while!
Attach the chains for the lift...
...put it over here...
...through that hole in the cab roof...
...down a bit...
...to here
This is how it's really done: (Also on YouTube).

Followed by this: (Also on YouTube).
Finally 7109 ends up back on the level, parallel to the ground, for the first time in years.
Back on the level
I think this is classed as a project milestone!

Thursday 13 October 2011

Why you need a Pointy Hat

As delivered, this elegant, Penberthy, displacement lubricator will flood the cab-mounted Worthington Simpson Boiler Feed Pump's (WS BFP's) steam chest every time it's topped up. Not good!
Looks good but hides a flaw
Let's see why.
Mounted on top of the WS BFP's Steam chest
The lubricator relies on being mounted vertically with steam oil filled to the top of a centrally located, internal tube.
Main pot removed to show the internal tube
In operation, some steam from the steam chest below is pushed up into the air gap at the top of the main pot where it condenses into water.

Being heavier than oil, the water sinks to the bottom and raises the level of the oil. The oil then spills over into the internal tube and back down into the steam chest below. So this is how the steam oil gets into the steam chest at the same pressure as the steam.

How does the oil get into the main pot? Well, you take off the filler cap and pour it in or so you expect until you actually have a look inside.

The top of the tube is open!
The tube has nothing to prevent oil being poured straight down it into the steam chest. Whilst this probably would not do any great damage, the steam chest would certainly get more oil than required!

I've concluded that there must be a missing part which blocks the hole but still allows the oil to spill over into the tube as intended.


I spent a lot of time figuring out how this part could block yet not block the tube top. Eventually I came up with a sort of castellated pointy hat thing!

Castellated, pointy, hat thing drilled from below to meet six holes and...
...which can sit on top of the tube like this
Now when you look in the top of the pot, it's like this:
Pointy hat top
So pouring oil into the filler will now put it into the pot and not straight into the steam chest!

I wonder if it will still work and what was there originally?
Related Posts Plugin for WordPress, Blogger...