 |
| Start of the Boiler Top Cover assembly |
 |
| Space getting tighter |
Some further investigation is needed.
 |
| Start of the Boiler Top Cover assembly |
 |
| Space getting tighter |
 |
| Ta Da! Flaps Open... |
 |
| ...Flaps Closed |
 |
| Flap Open... |
 |
| ...Flap Closed (or was it the other way round?) |
 |
| The white dot is the end of the alignment tool's threaded rod and slightly to the right (in the photo) |
 |
| Tubes all parallel to the strap between |
 |
| The complete assembly in place (1) |
 |
| The complete assembly in place (2) |
 |
| View from the inside |
 |
| View from the outside |
 |
| It's come a long way! |
 |
| Nozzles showing machined flat area around each nozzle orifice |
 |
| Threaded rod and alignment foot |
 |
| Alignment foot with ledge to fit into nozzle orifice |
 |
| Number One Tube in place |
 |
| Numbers One & Two |
 |
| Numbers One, Two & Three |
 |
| Numbers One to Four all in place |
 |
| View from Above |
 |
| Exhaust Steam Pipe to Numbers Three & Four Tubes |
 |
| First Heat Shield around numbers One & Two Tubes |
 |
| Progress on top of the boiler |
 |
| Looking towards the rear, the first casting is held by the strap |
 |
| Casting moved above the final location |
 |
| Not all is perfect |
 |
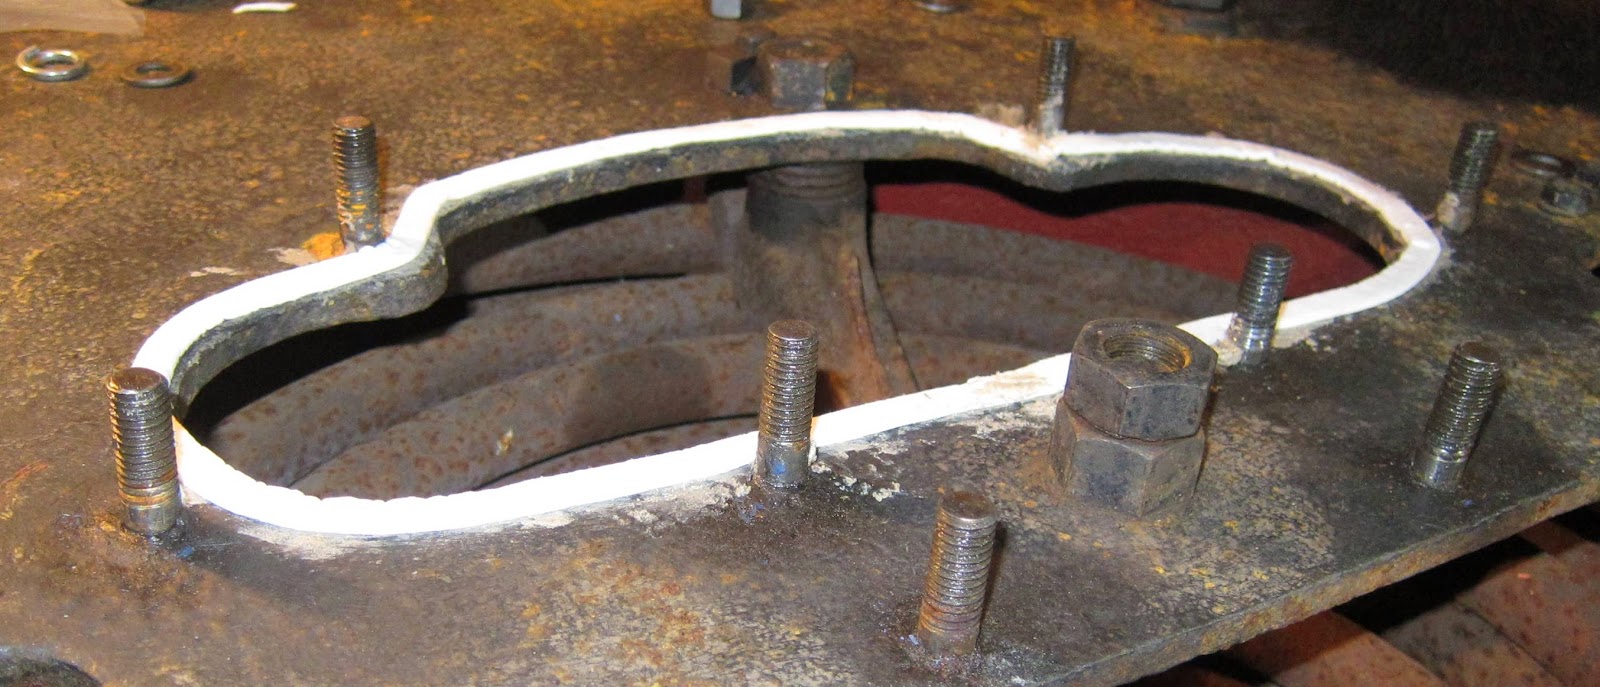
| Extra cut-away to accommodate the nut |
 |
| Ceramic 'felt' seal around the chimney base |
 |
| Casting fully seated (1) |
 |
| Casting fully seated (2) |
 |
| Both castings in place |
 |
| RHS Bifurcating exhaust pipe fitted |
 |
| View down through to the superheater showing the blast nozzles (My boots were clean at the start of the day!) |
 |
| Portly Swans Greeting? Not really. |
 |
| Top Cover access holes (the other half is similar to this) |
 |
| Plugged holes in the Boiler Top Plate |
 |
| Plan view of boiler top plate with plugs shown in red |
 |
| Access plug removed |