Sunday 5 October 2014

Exhausting Pipes (3)

In 'Exhausting Pipes (2)', I'd just received Sentinel 7109's machined chimney castings from Mendip Steam Restoration Ltd. with 'Interesting Times Ahead'!

I first had to fit the original pipes to the top of the new castings - the key point being that the outer shells' mounting holes also had to line up with the corresponding holes in the pipes. The pipes also had to end up being the same height as the originals.

Luck was on my side. Until this moment, I hadn't realised that the pipes were bored out at the lower end so that there was a lip to support the pipes at the correct height (assuming the new castings were the same height as the originals - which they were!).
Supporting lip at lower end of pipe
I could thus put the pipes in place over the castings (with a lot of assistance from a rubber mallet!).
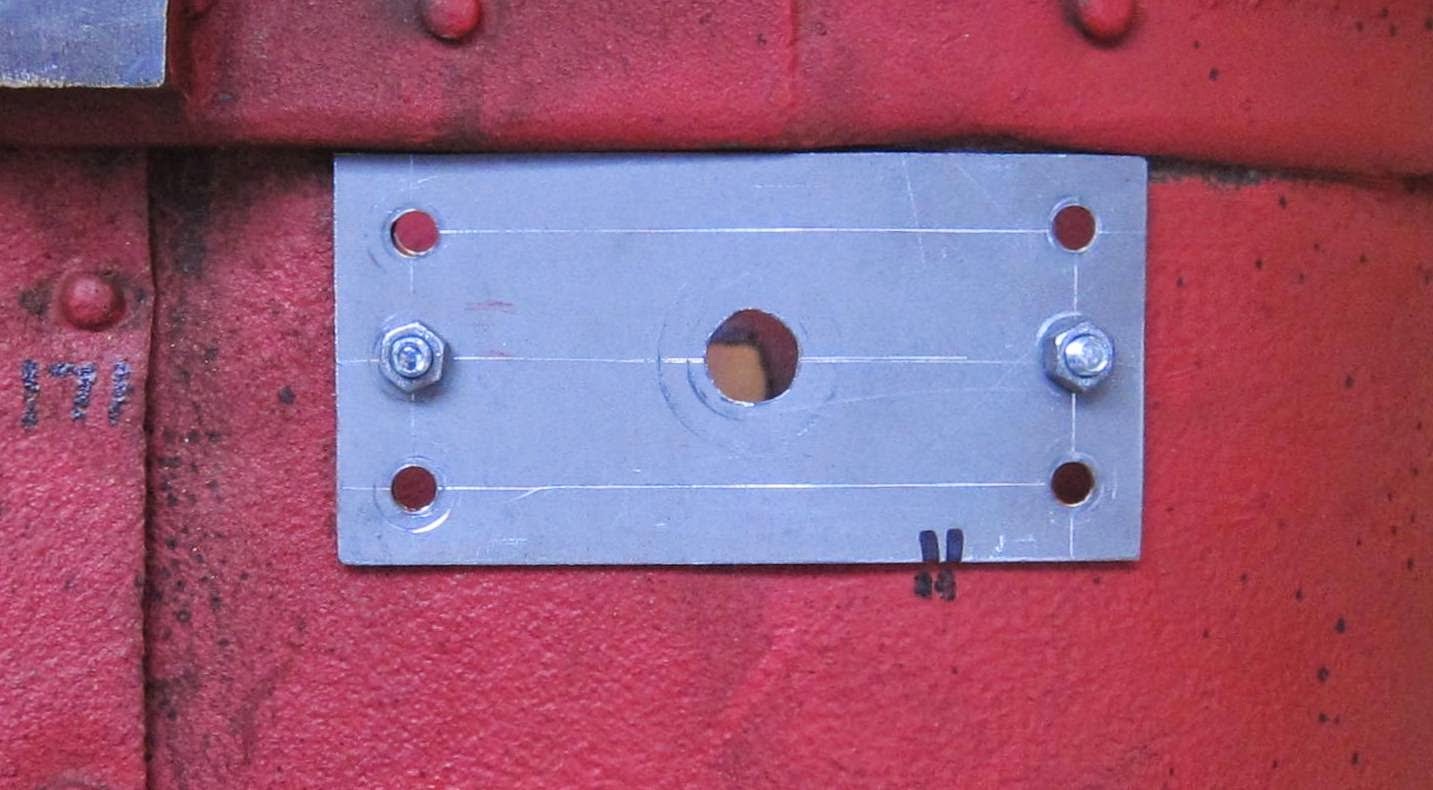
Pipes on casting (ignore the bolt heads)
Outer shell mounting holes are highlighted
Then, using a couple of metal rods, I was able to support the outer shell in place and adjust the pipe orientation to suit.
Pipes line up with outer shell fixing holes
I marked out the fixing holes in the castings using the holes in the pipes, then drilled and tapped them (M10).
Tapping the castings
That sorted out the pipes but the outer shells were not in very good condition.
Corrosion around an outer shell upper fixing hole
Corrosion around outer shell lower fixing holes
I decided to attach sheets of metal over the corroded sections and weld, bolt or rivet them in place.
Outer shell upper fixing hole repaired
Outer shell lower fixing holes repaired
The sheet metal was 0.8mm thick and thus fairly pliable. To make it follow the curve of the original was a challenge but after a bit of thought I found a ratchet strap could pull it into shape so that I could drill the fixing holes.
Before...
...After(1)
After(2)
So finally, putting it all together, it looks like this (both of them similar). The M10 fixings are all stainless steel for greater resilience in this environment.
Finished (nearly)
Next, there is some fine welding to tidy up a few rough edges and a decent coat of suitable paint. Oh, and hoisting them into place (not trivial!).

No comments:

Post a Comment

Related Posts Plugin for WordPress, Blogger...